Javascript must be enabled for the correct page display
Skip to main content
Skip to main content
Get in Touch
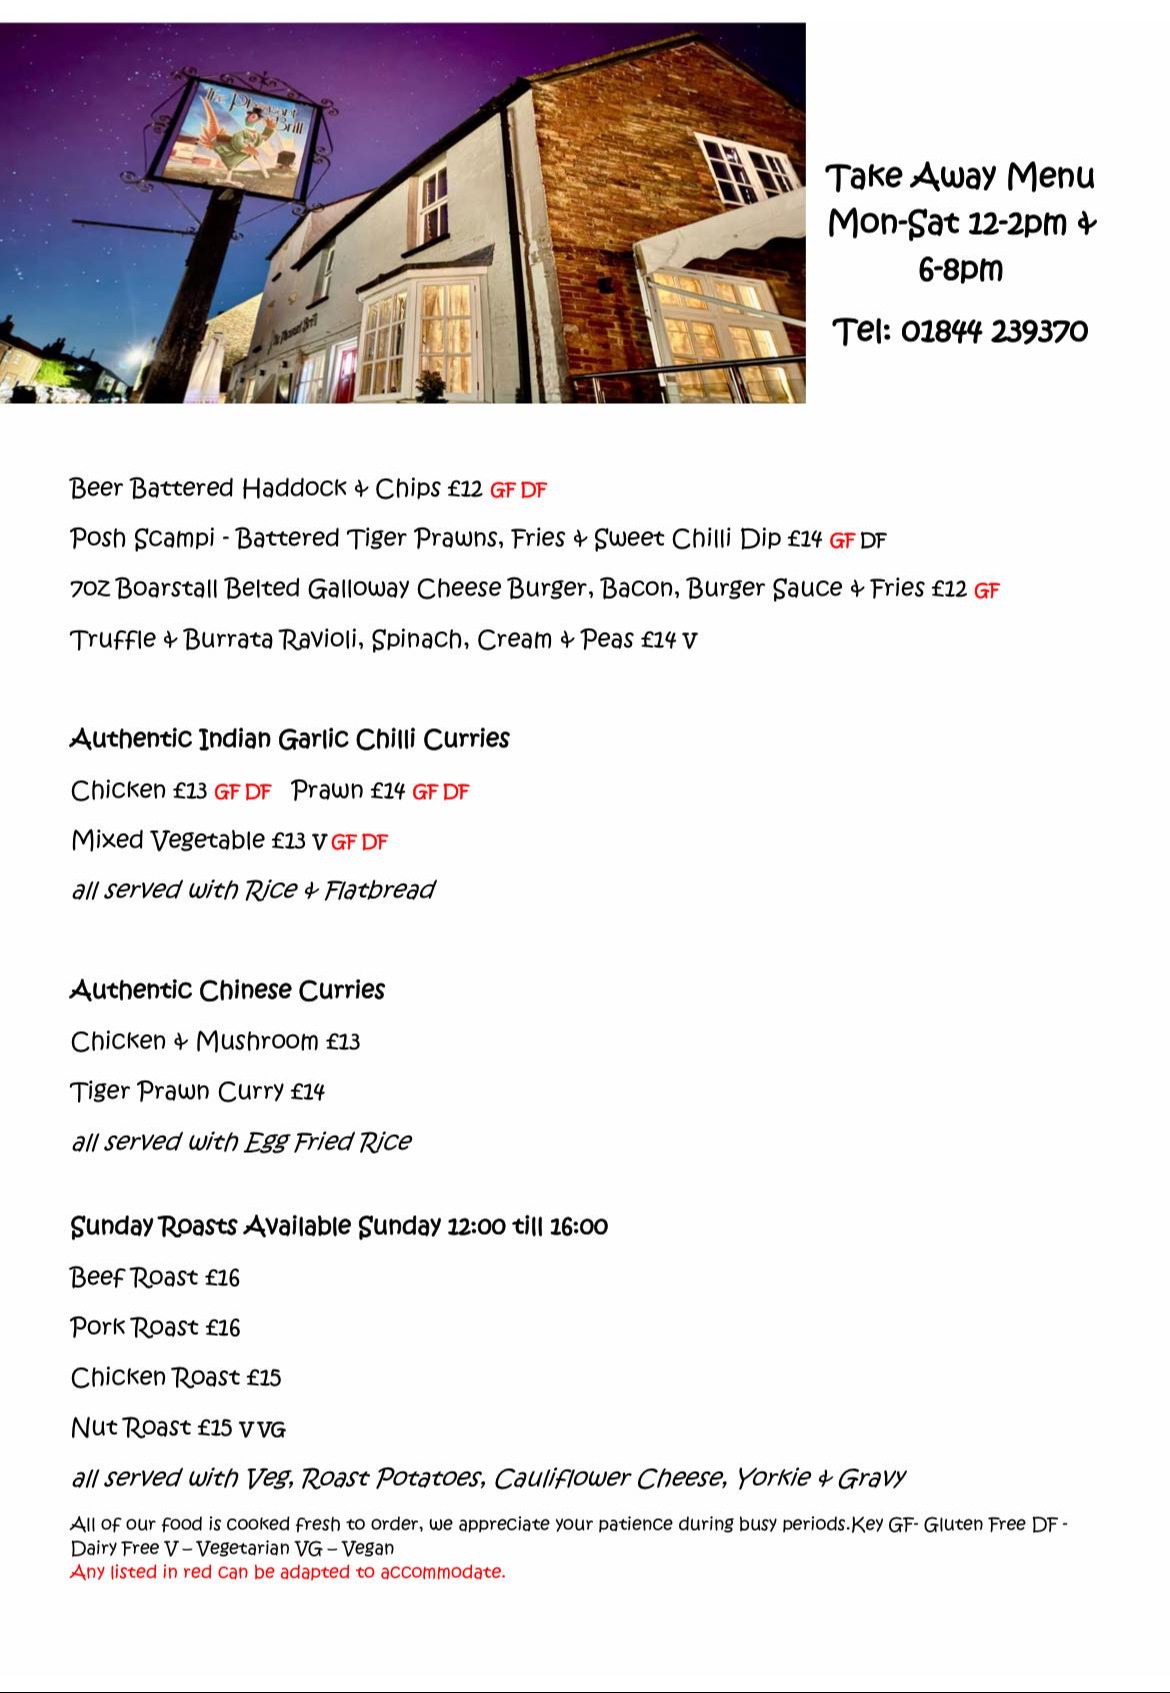
Our Menus
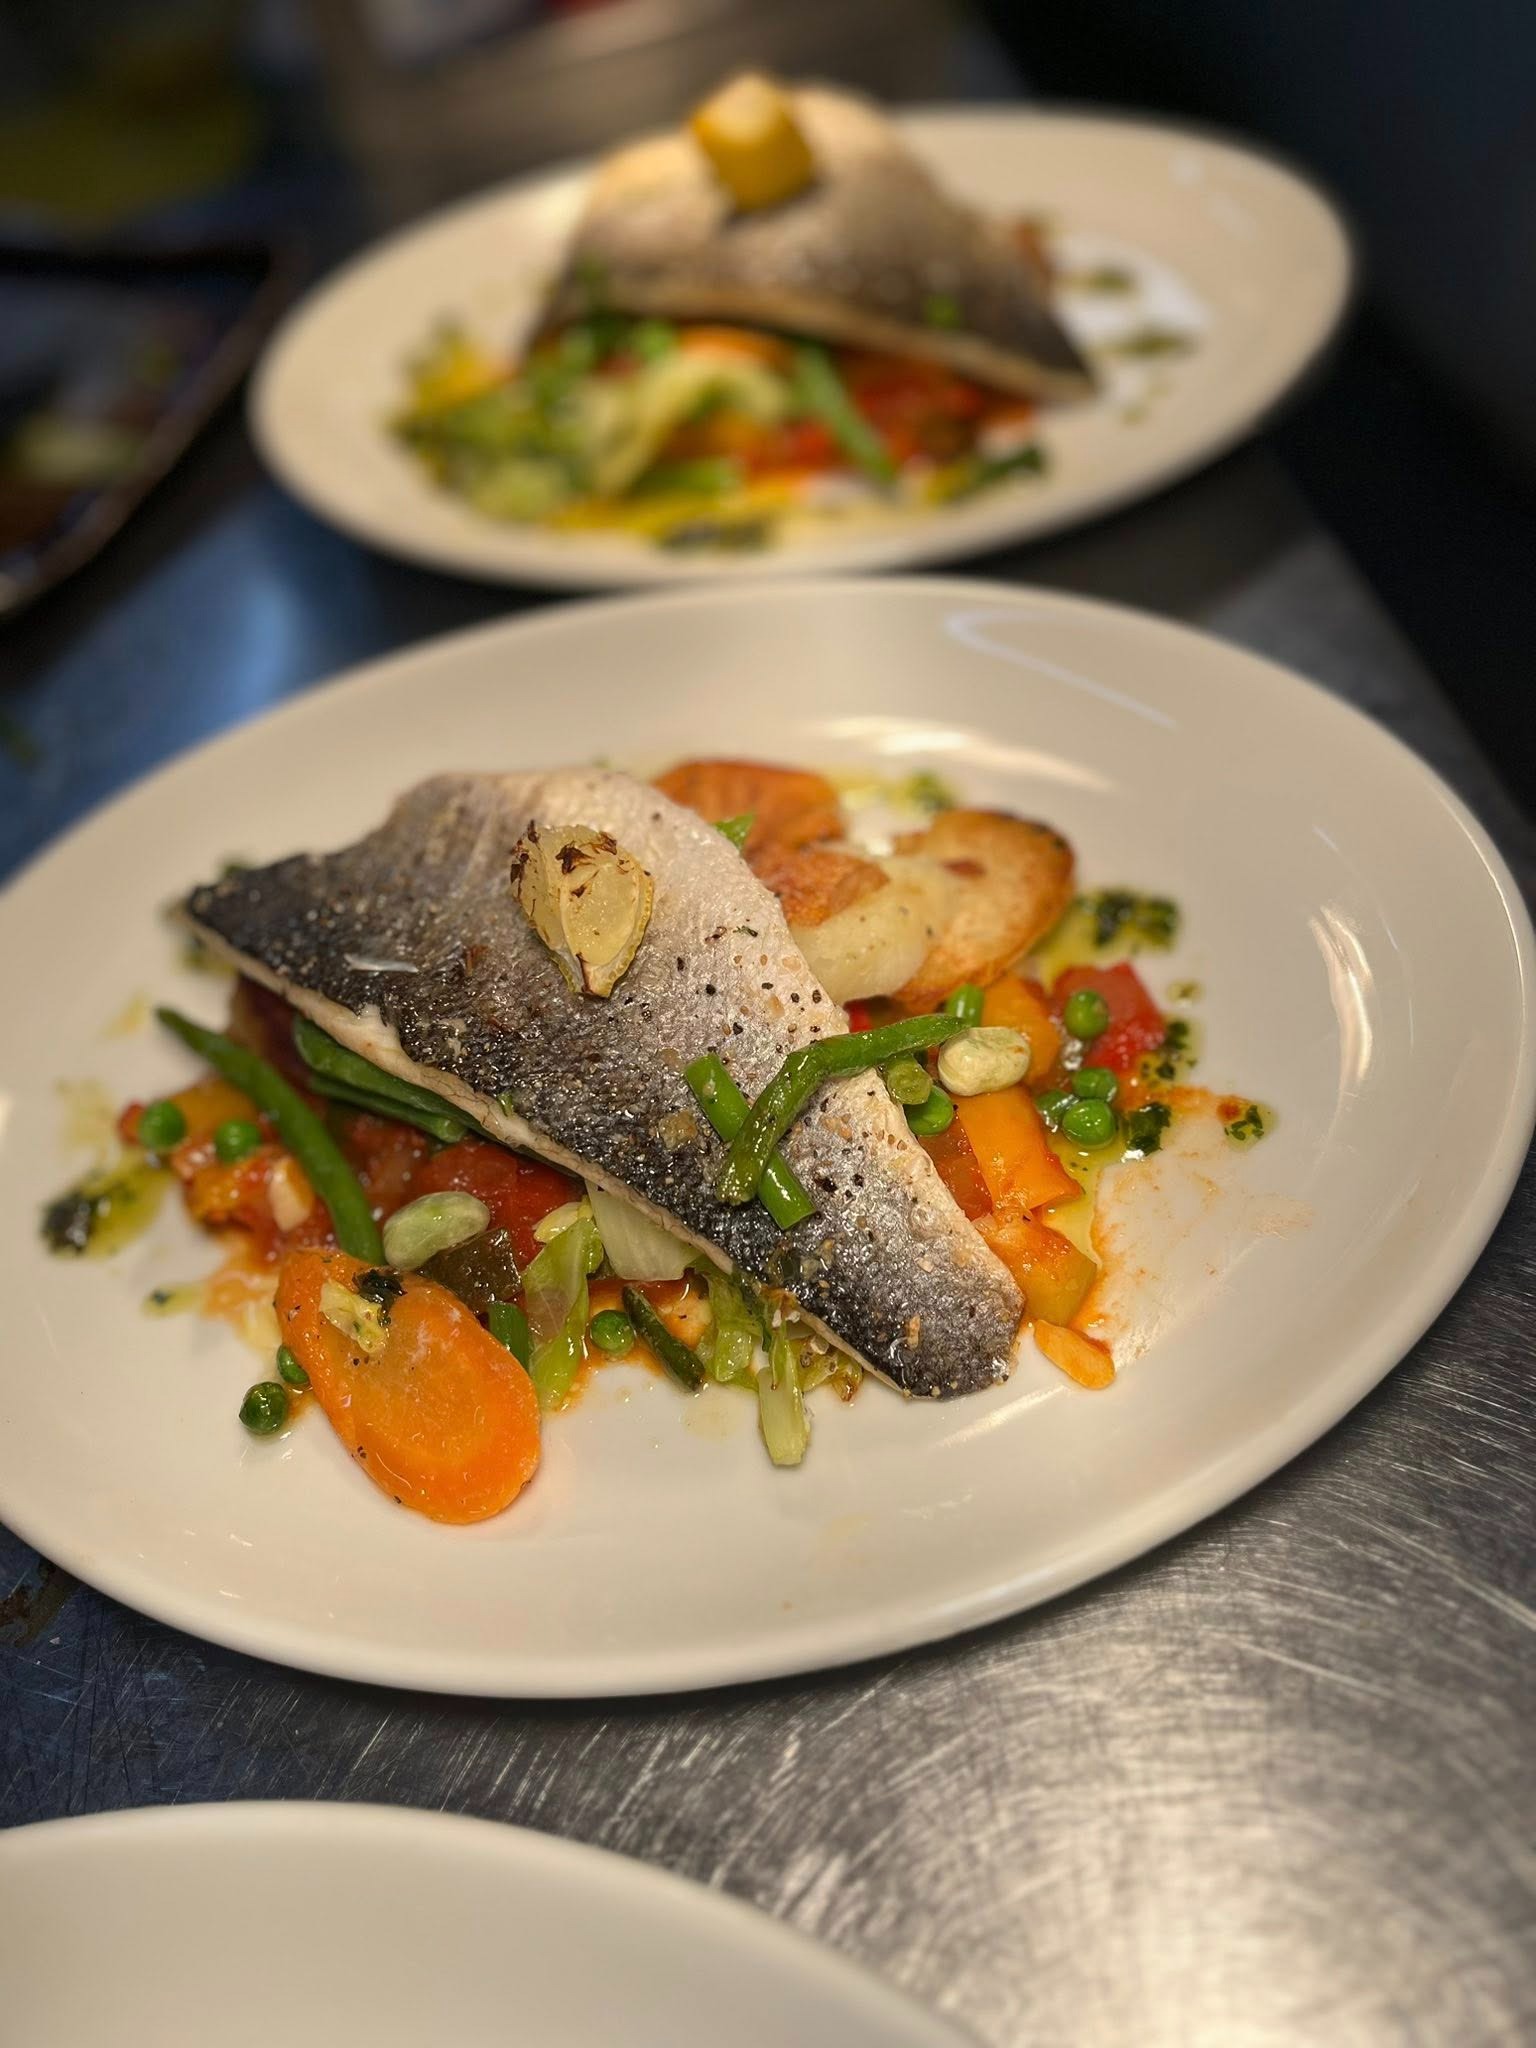
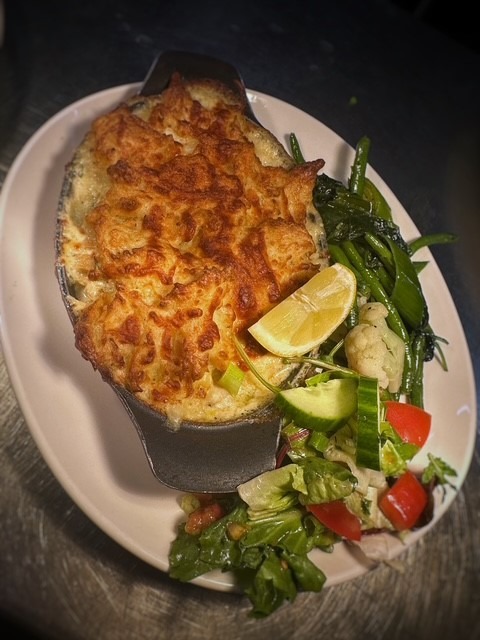
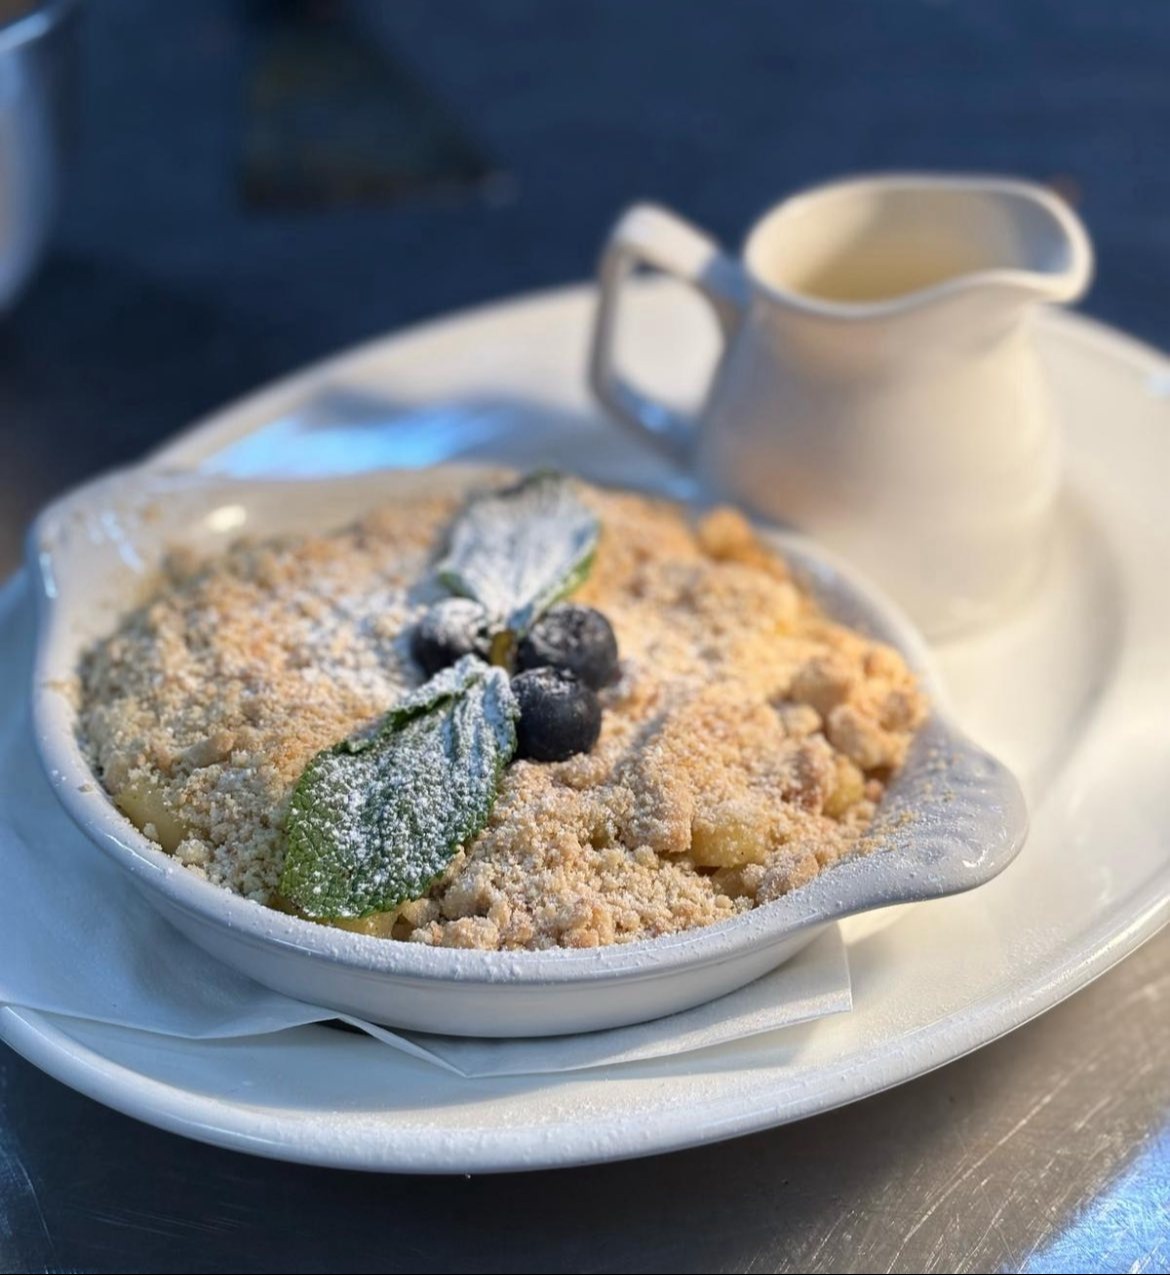
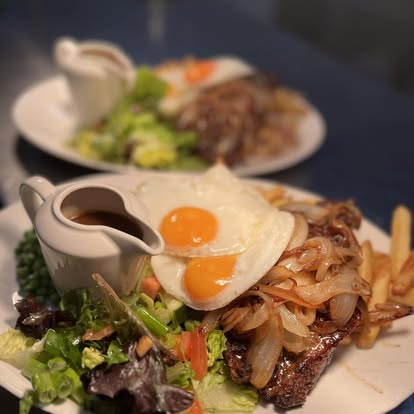
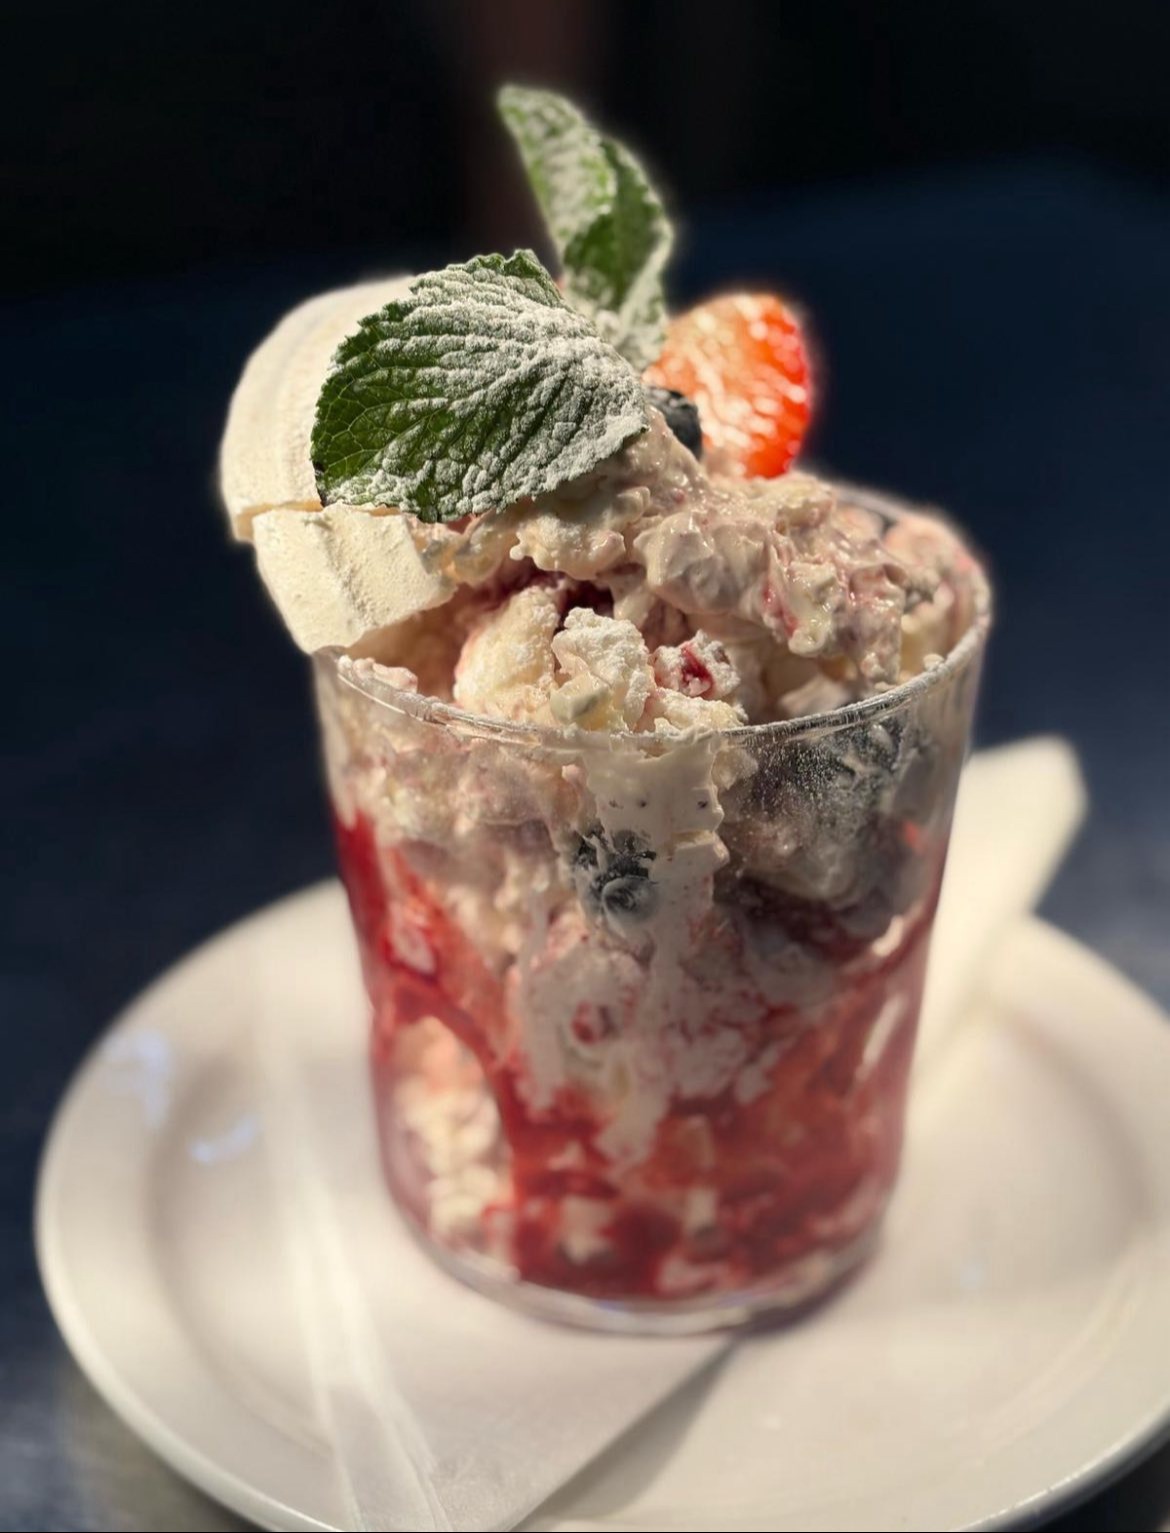
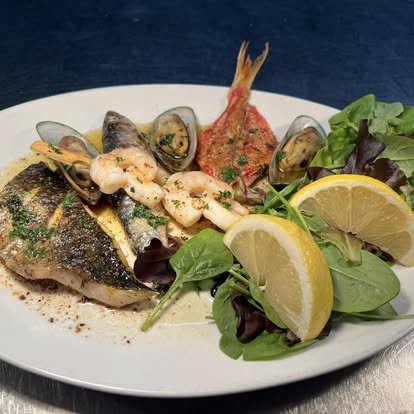
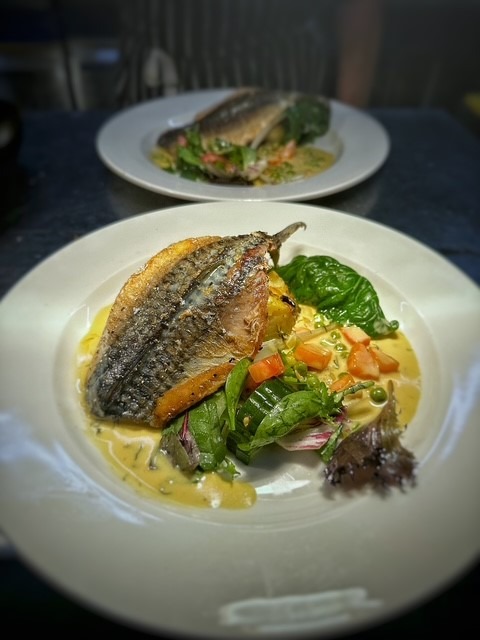
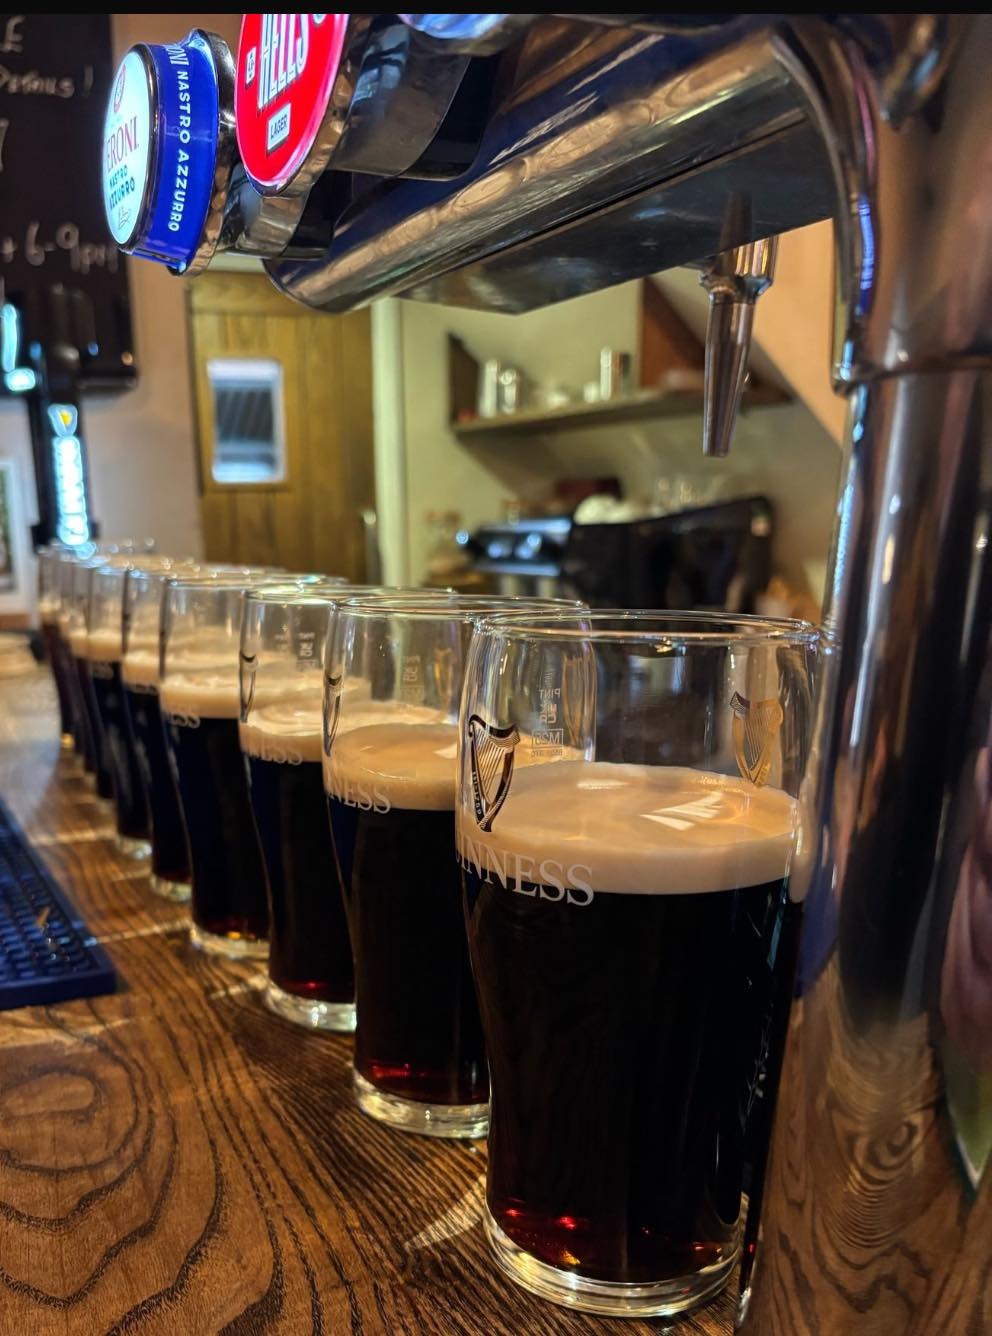
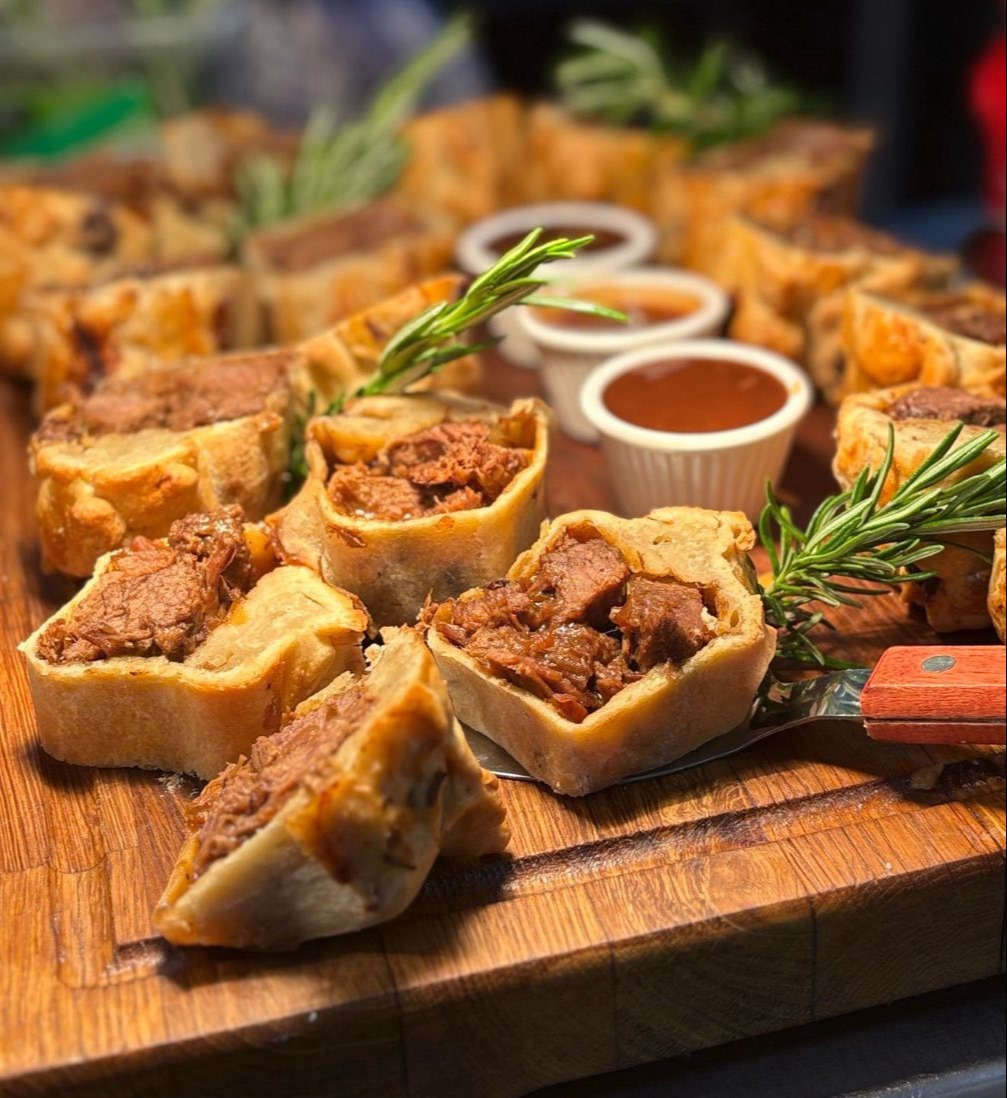
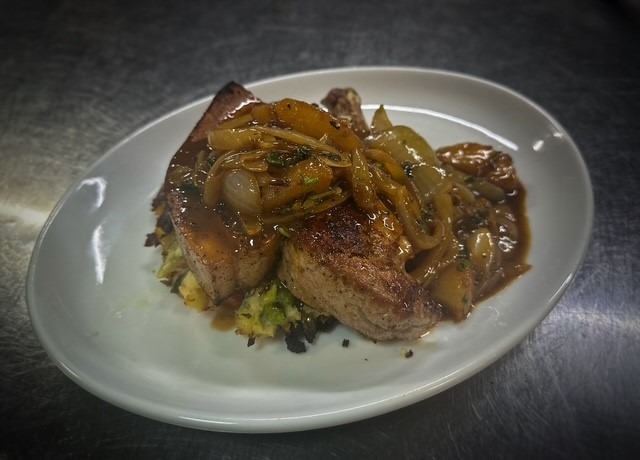
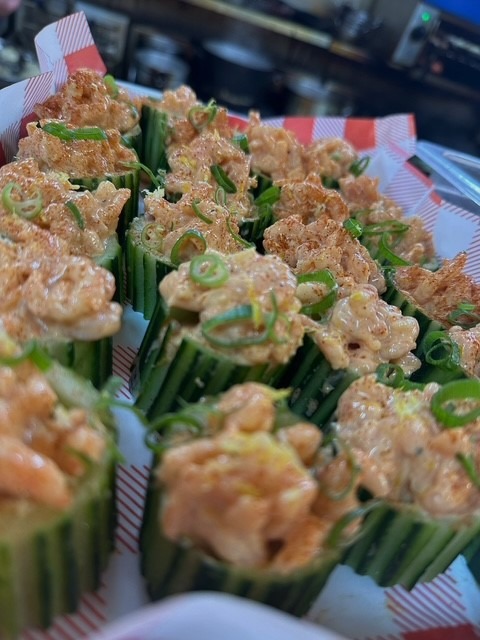
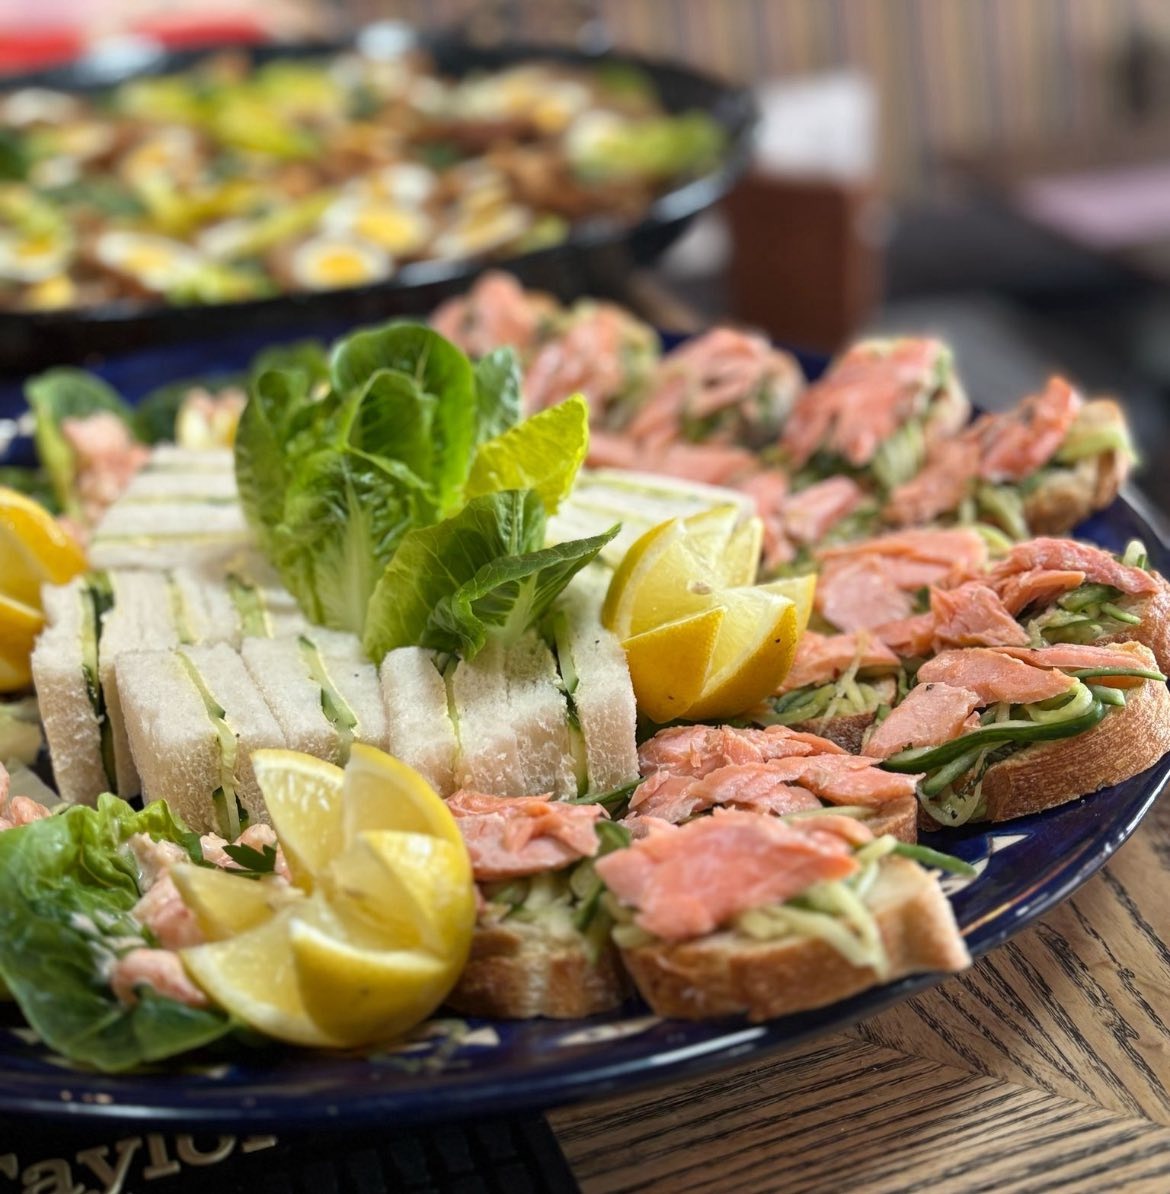
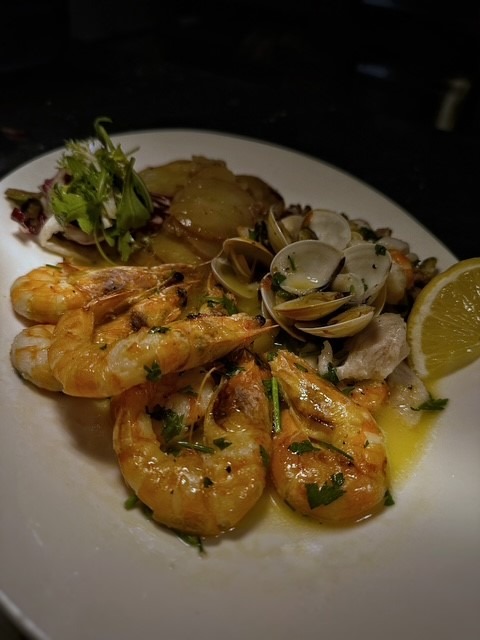
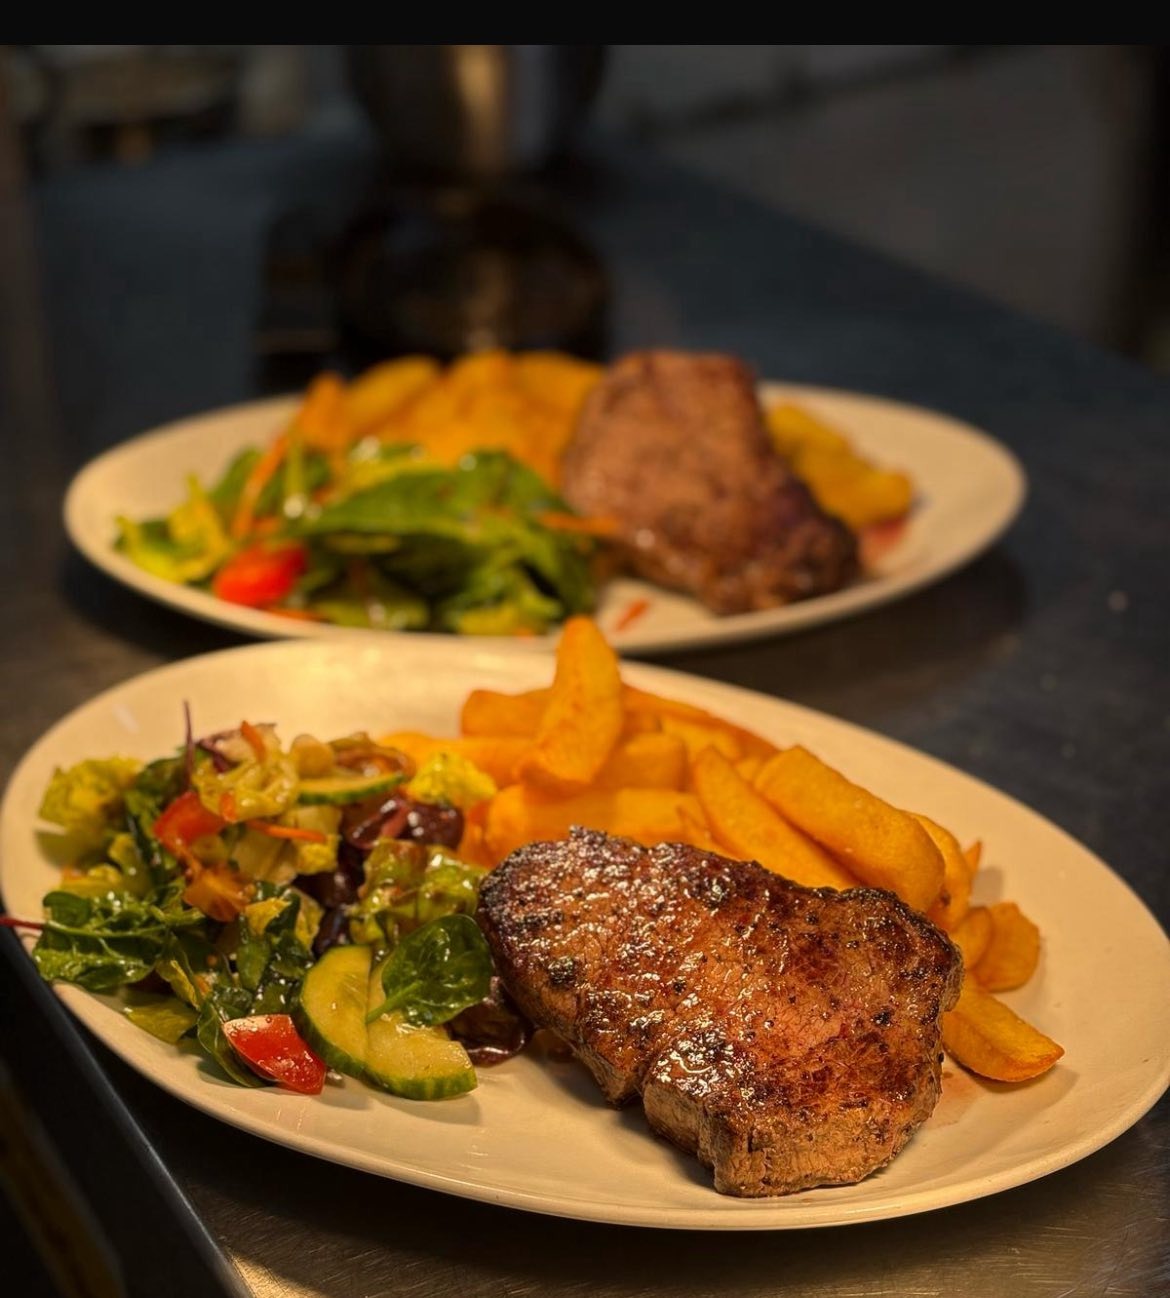
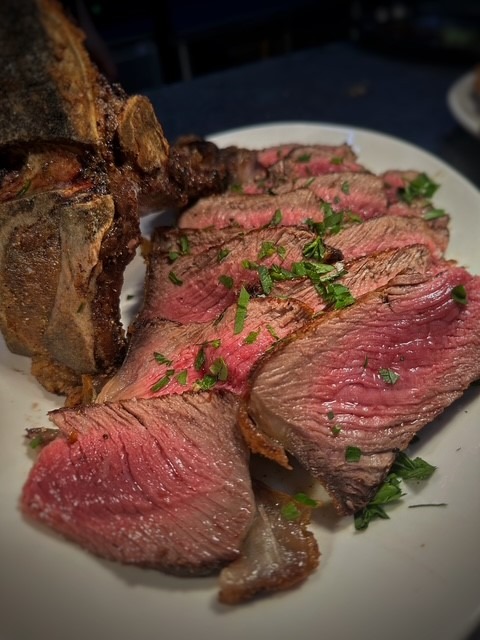
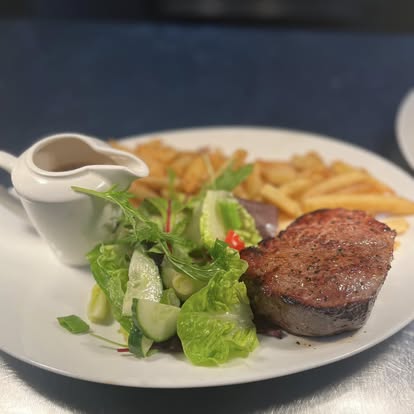
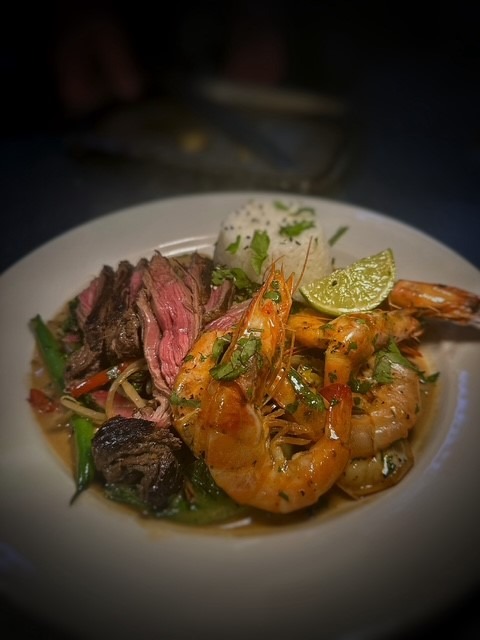
Gallery
×
Send
Gallery
Gallery